C: Drive Cleanup - Clearing the Bloat Without Nuking the System
C drives fill up fast, and it’s rarely because of photos or documents. This post walks through a proven cleanup process that targets hidden Windows clutter like temp files, update leftovers, and logs. It’s safe, effective, and easy to automate. Perfect for IT support or anyone tired of the “low disk space” warning.
5 min read
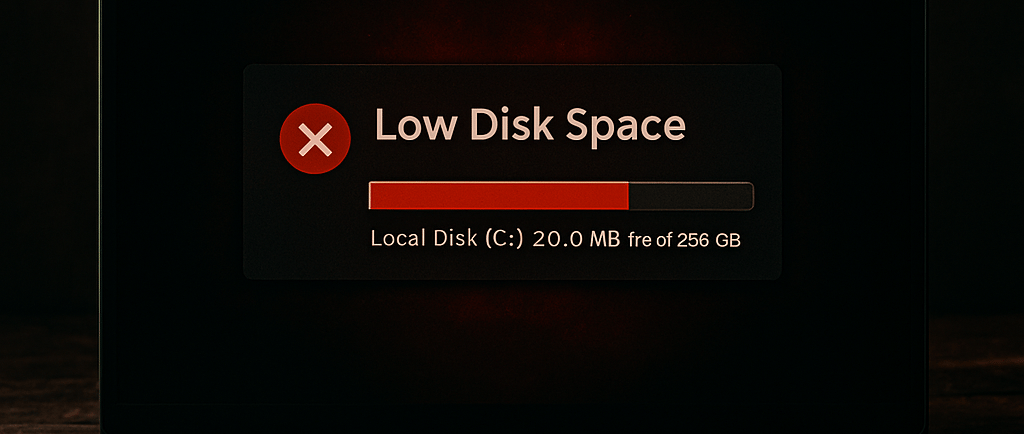
Low disk space is one of those problems that hits at the worst possible time. You are in the middle of a deadline, you hit “Save,” and Windows throws up the dreaded full‑drive warning. Cue panic.
The call usually starts the same way:
“My laptop’s slow. I keep deleting photos but the space never goes up.”
or
“My laptop won’t let me save, it says my drive is full.”
Photos are rarely the issue. Documents are not either. The real problem lives deeper in Windows, temp folders, update caches, log files, crash dumps. Background clutter that slowly builds until there is no space left to work with.
This post is my full process for clearing it out. It is the same approach I use on user laptops, shared devices, and even lab machines. It is safe, it does not touch personal data, and once you know it, you can automate the whole thing.
Why C Drives Fill Up
Every action in Windows leaves a trace. Install an update and it stores backups. Run an app and it caches files. System crashes generate logs for later review. None of this feels like much until it stacks up over time.
Here is the problem: Windows’ built‑in tools only clean the obvious stuff. Disk Cleanup or Storage Sense will empty the recycle bin and clear basic temp files, but they skip the deeper clutter like update leftovers, shadow copies, and component backups. That is where most of the wasted space lives.
For IT support, knowing how to target those areas is the difference between a quick five‑minute fix and a rebuild that drags on for hours.
Before You Start: The Cleanup Mindset
You are about to delete files from system directories, so keep a few rules in mind:
Know exactly where you are deleting. Stick to temp, cache, and update folders. Do not touch System32, program files, or user profiles without confirmation.
Stop services first. Update files are often locked by running services.
Document the process. Once you know it works, you can automate it later without second‑guessing yourself.
Step 1: Close Apps and Sign Out
Before touching anything, close Teams, Outlook, OneDrive, browsers, and any other active apps. Many cache files live in AppData or temp folders that these apps keep open.
Task Manager is useful here. Kill background processes manually if they refuse to close. This prevents files from regenerating during cleanup.
Step 2: Clear Temp Folders
Windows uses two main temp directories:
User temp: %temp%
System temp: C:\Windows\Temp
Both are safe to empty. They hold leftover installer files, update caches, and app data that is no longer used. Clearing these can free anything from a few hundred megabytes to several gigabytes.
Tip: If a file refuses to delete, skip it. That means it is actively in use. You do not need 100 percent clearance to see a big difference.
Step 3: Clear Windows Update Leftovers
This is where most of the hidden clutter lives. Windows keeps backups of every update in SoftwareDistribution and Catroot2. Over time, these folders can grow massive.
Steps:
Stop the update services so files unlock net stop wuauserv net stop bits
Delete the contents of C:\Windows\SoftwareDistribution C:\Windows\System32\catroot2
Restart the services net start wuauserv net start bits
Step 4: Clear Prefetch and Logs
Prefetch caches app launch data to speed up startup. Over time, old entries are pointless. Clearing them forces Windows to rebuild what it needs:
C:\Windows\Prefetch
Logs - especially CBS and DISM logs - can grow significantly on systems with repeated update issues:
C:\Windows\Logs\CBS C:\Windows\Logs\DISM
Clearing them removes wasted space and clears out noise for future troubleshooting.
Step 5: Remove Shadow Copies and Restore Points
System Protection quietly stores restore points for rollbacks. Useful when you need them, but if the drive is full, they become dead weight.
Delete them with:
vssadmin delete shadows /all /quiet
Alternatively, toggle System Protection off and back on to flush them completely.
Important:
This command is irreversible. It deletes all existing restore points, so make sure the user doesn’t need to roll back to a previous state before running it. If you're unsure, consider checking System Restore settings first or creating a manual backup.
Step 6: Check for OEM Junk (Dell SupportAssist Example)
OEM utilities often leave behind diagnostics and backups. Dell’s SupportAssist is one of the most common offenders, storing snapshots under C:\ProgramData\Dell\SupportAssist\
Not every system will have this folder, but when it does, clearing it can recover a huge amount of space.
Caution: While it's safe to clear this folder for Dell systems, not all OEM tools behave the same way. Some may rely on these files for diagnostics or recovery. Always verify the folder’s purpose before deleting, especially on non-Dell machines.
Step 7: Component Store Cleanup
The WinSxS folder is large on every Windows install. It holds components for servicing and rollbacks. Do not delete it manually.
Use DISM to clean it properly: Dism.exe /Online /Cleanup-Image /StartComponentCleanup
This safely prunes old updates without breaking Windows.
When to Go Deeper
If space is still tight after cleanup, check for:
User profiles with oversized Downloads or OneDrive caches (confirm with the user before clearing)
Hibernation files (hiberfil.sys), disabling hibernation can reclaim several GB
Pagefile size, may need tuning on smaller SSDs
Drive health, if the drive keeps filling abnormally, check SMART data for failure
Behind the Scenes: Building the Script
I started doing this cleanup manually whenever the ticket came in. The steps were always the same: stop services, clear temp folders, clear logs, reset shadow copies, finish with DISM. After a few times, I realised I was repeating the exact same process.
The first version of the script was basic. A handful of Remove-Item commands dropped into PowerShell. It worked, but it was easy to break if you ran it at the wrong time. So I added checks, service controls, and progress messages so I knew what it was doing. Over time, it went from “quick and dirty” to something I could trust on any machine.
Now it is part of my regular toolkit. I run it, watch the space free up, and move on. That is how most of my tools come together. They start as manual fixes, get refined into scripts, and eventually become something I can run without even thinking about it.
You can grab the full script and see how I built it on my GitHub page here. It includes notes, safe defaults, and the same structure I use in production.
Lessons Learned
Disk space problems are usually caused by system clutter, not user files
Default cleanup tools only clear surface‑level files
Clearing update leftovers and logs makes the biggest impact
Automating repeat fixes turns a 30‑minute job into a 2‑minute one
Takeaway
C drives filling up is nothing new. It happens quietly in the background until the system grinds to a halt. The fix is not magic, it is just knowing where Windows hides the mess. Once you have done it manually a few times, it becomes second nature.
The real power comes when you script it. Instead of repeating the same steps on every ticket, you run one tool, save half an hour, and get straight to the next problem. No personal files touched, no unnecessary rebuilds, just a clean system and a happy user. Add it to your toolkit and you will wonder why you ever did it the long way.